Forms Basics
Aliveforms packs ease of use, power and flexibility in same package. You can master it in few minutes. Let's get started by creating first form.
Starting Aliveforms Studio
To create a form in Aliveforms, first, open the Aliveforms Studio. Login in to account if you are not logged in. Now, first screen you see is the Home Screen.
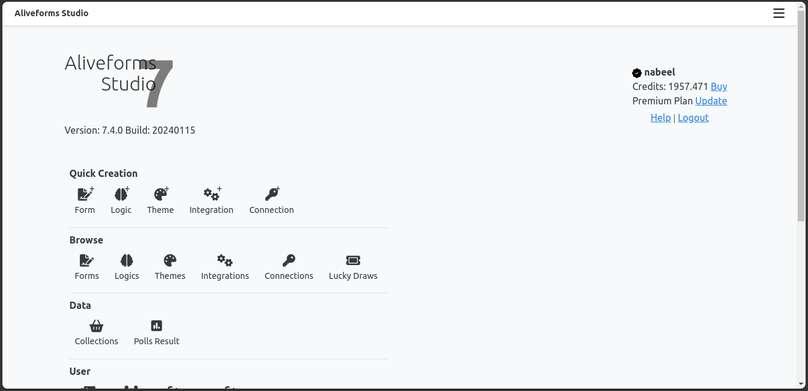
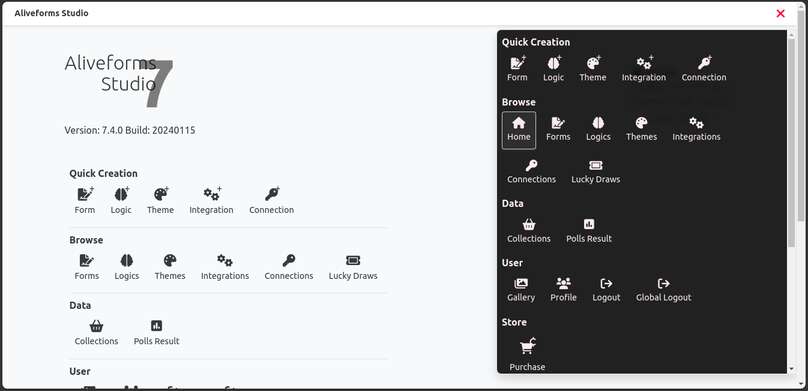
On top right, you can see menu, called dashboard. We'll use it quite often for navigation and creation. Here you can see buttons for navigating to different sections of Aliveforms Studio. You can also see buttons to quickly create forms, themes, logics, integrations, connections.
Creating Form in Aliveforms
Let's create our first form in Aliveforms.
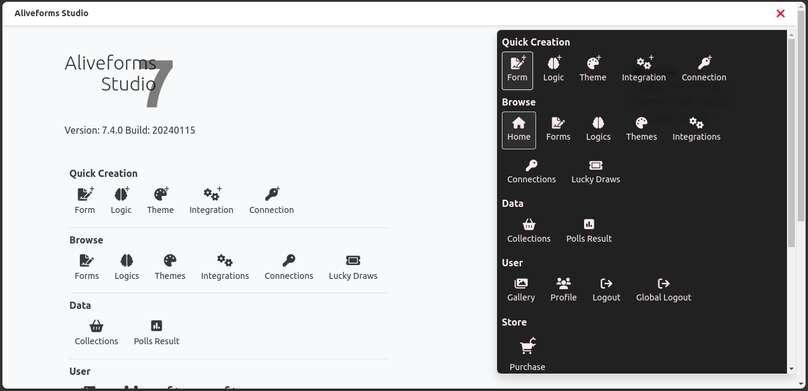
We are going to create a simple feedback collection form from scratch.
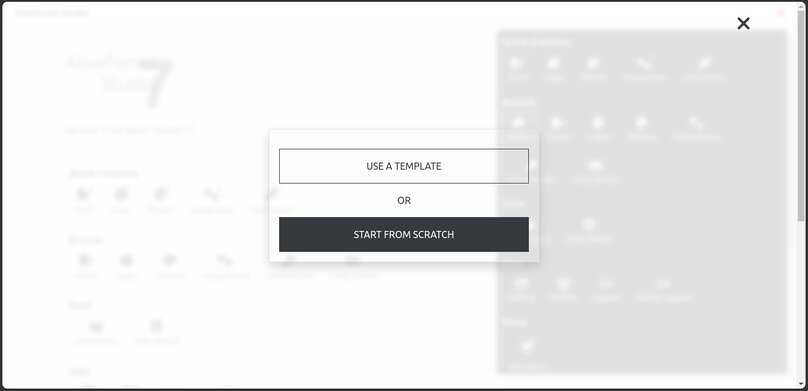
Since, we are not doing any calculations we are going to use "Generic Form" as base type. You can learn more about type in article base types of form in Aliveforms
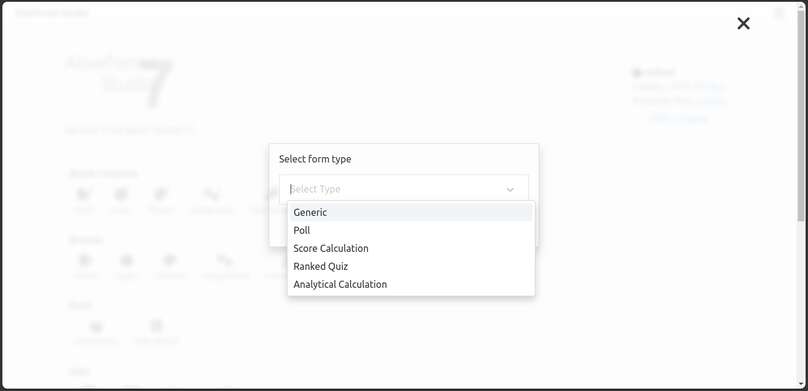
Next, let's give it a title. and click create.

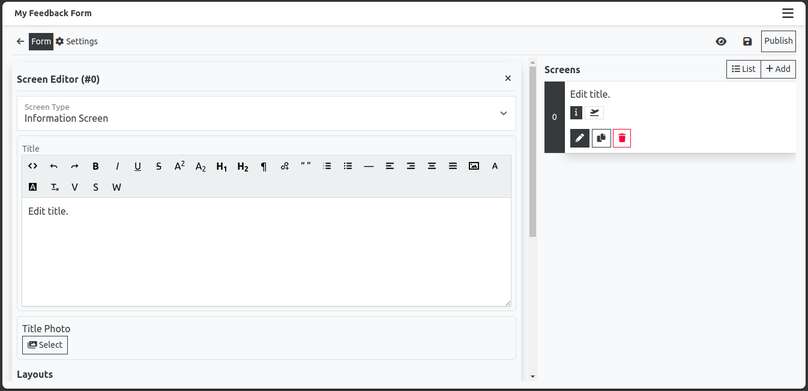
Form Editor Interface
After creating the form, Form is loaded in form editor.
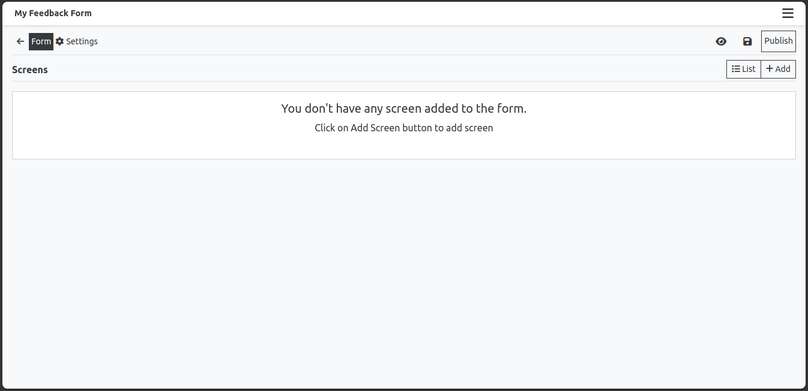
Here, you can notice few buttons.
- On right side, there are
- preview button - to open the form in new tab
- save screens button - after adding/editing screens, save changes by clicking it.
-
publish button - when form is ready for public, click to publish.
-
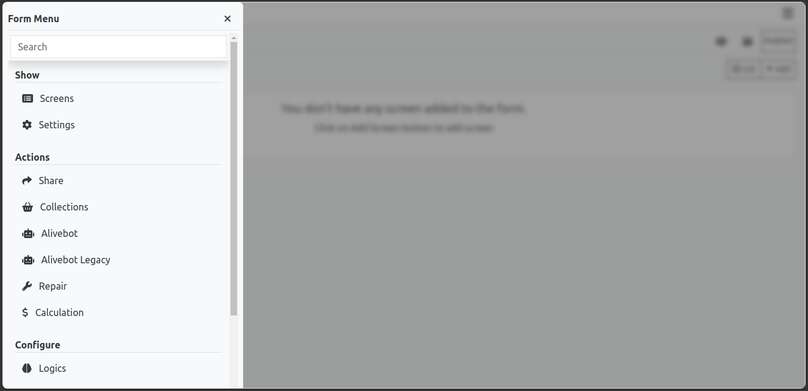
On left side there is Form Screen and Settings menu. Currently form is highlighted, that means screen editing in progress. If you click settings buttons you'll see settings menu. Here you can open settings or perform actions.
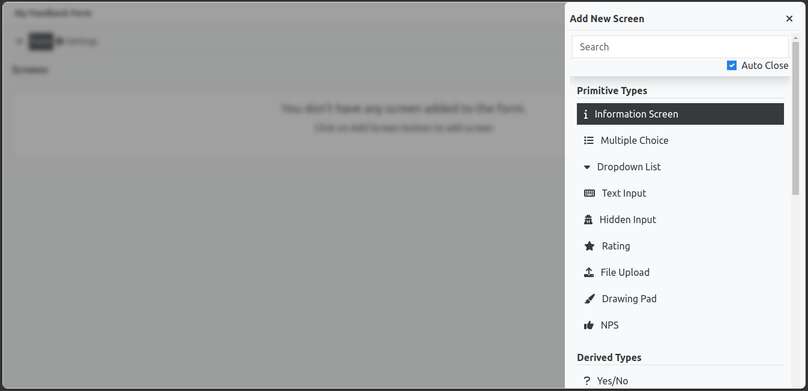
Adding a screen
- To add a screen or question in form, click on
Addbutton in front of Screens section.
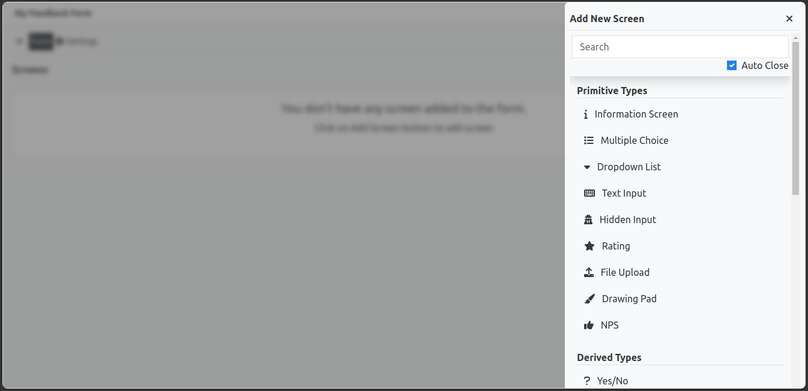
- Now, click on screen type to add the screen.
Save the screens
When you add the screen, or edit the screen, make sure to click Save to save the changes.
- Scroll down and configure the screen.
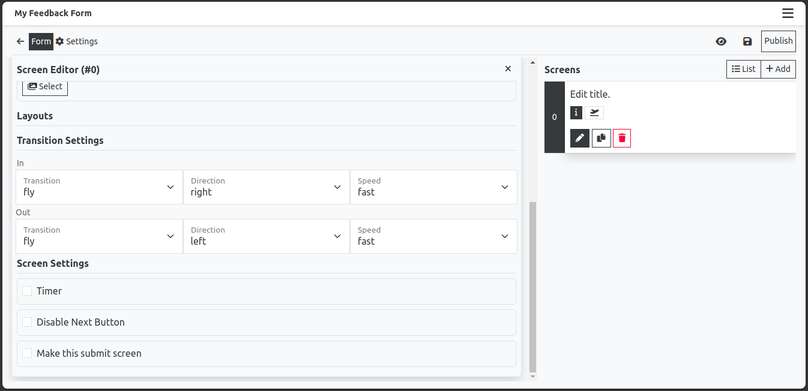
UI Changes
Since version 8, to reduce clutter, Screen settings are are moved to sidebar. Please click on "Screen Settings" button either in front of screen bar or at bottom of screen editor if available.
- Repeat the process to add more screens. Depending upon screen type, there are different options available.
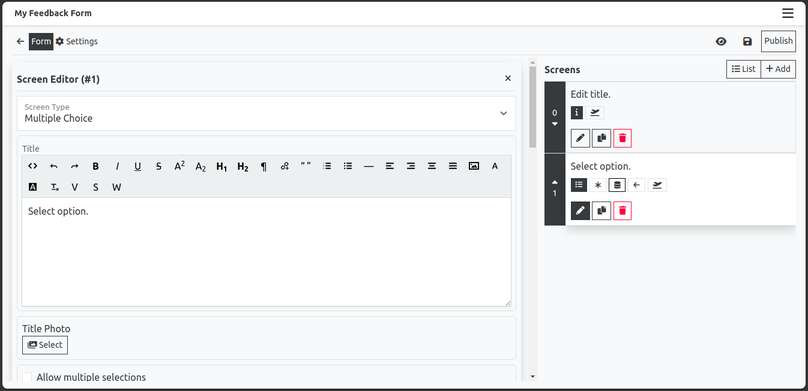

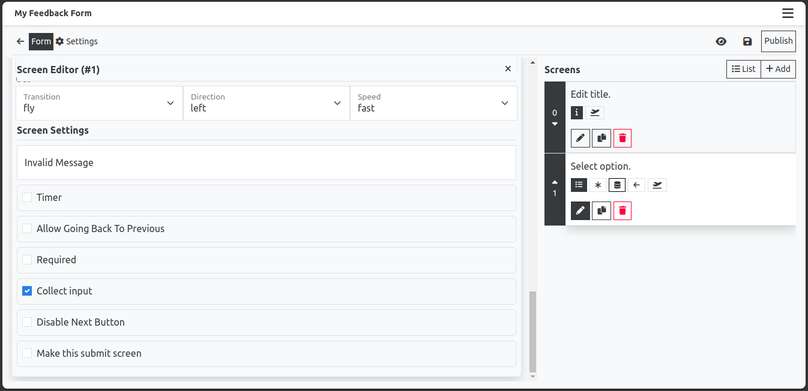
-
In screen list at bottom, you can see toggle icons to toggle different settings on screens.
-
If you want to add multiple screens at once, uncheck
Auto Closewhen adding screen. Add screens and when done, click on close icon at top. -
When editing is done. Click on Publish.
-
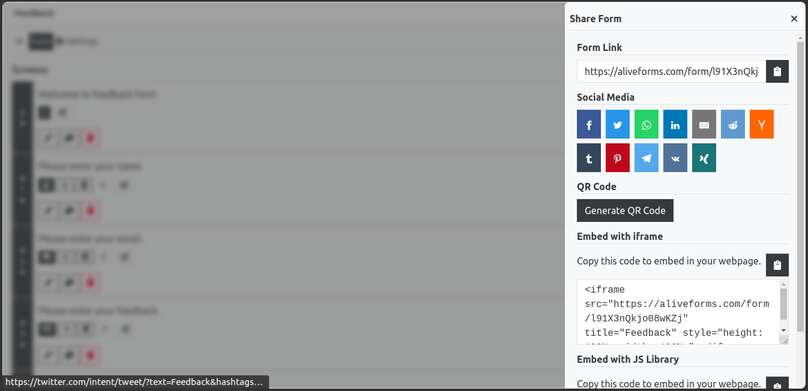
To Share the form, open share dialog, you can either open it by clicking settings, and clicking share in form editor. Or in Forms list, clicking on more options icons and clicking Share.
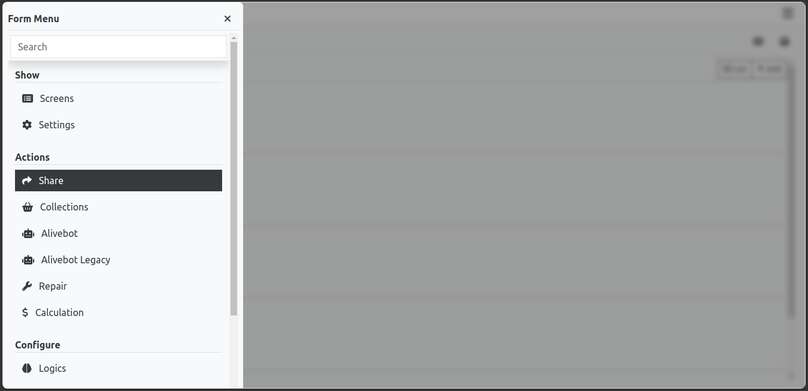
- From here, you can either copy the link, or click on icons to share on social media directly, or get code to embed form in your website.
- The process of creating form is same on desktop and mobile devices. The only difference you'll see is form screens and editor are visible at same time on desktop, but on mobile, either list or editor will be visible.