Verify Submission with Google
Aliveforms provides a powerful feature to enhance the security of your forms by integrating Google verification. This feature allows form creators to control who can submit forms, ensuring a more controlled and secure data collection process.
Creating a New Verify with Google Integration
To set up Google verification for your forms, follow these steps:
- Navigate to the Aliveforms dashboard and click on
New Integration.
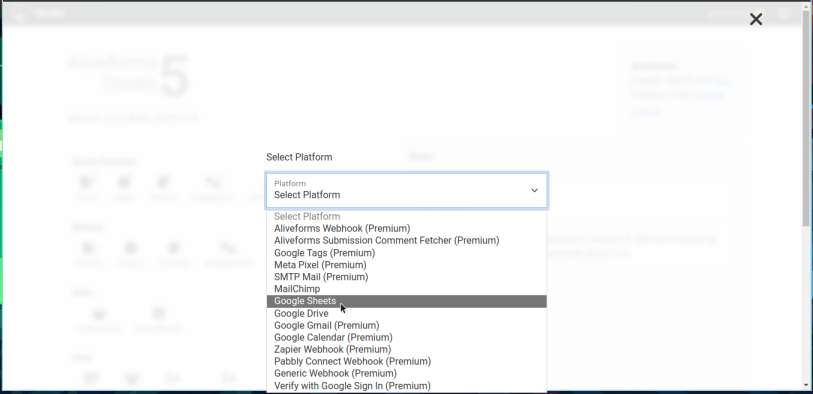
- Select
Verify with Google Sign infrom the available options.
Setup in Aliveforms
In Aliveforms Integration Editor, Verify with Google Sign In has 2 optional configurations
- Allowed Accounts
- Blocked Accounts
Configuring
- If you want to allow anyone to submit the form, but require them to login with Google to verify and receive their email in submission, leave allowed accounts text box blank.
- If you want to allow specific accounts, then in allowed accounts text box, enter the accounts you want to allow. You can put multiple accounts, separated with a comma.
- If you want to block specific accounts, then leave allowed accounts empty and in blocked accounts text box, enter the accounts you want to block. You can put multiple accounts, separated with a comma.
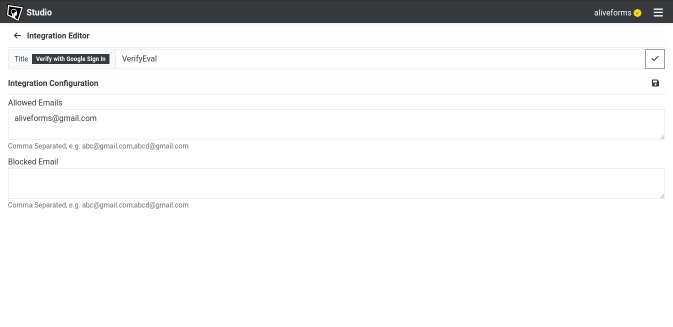
Save the integration
Click on Save icon to save the integration data.
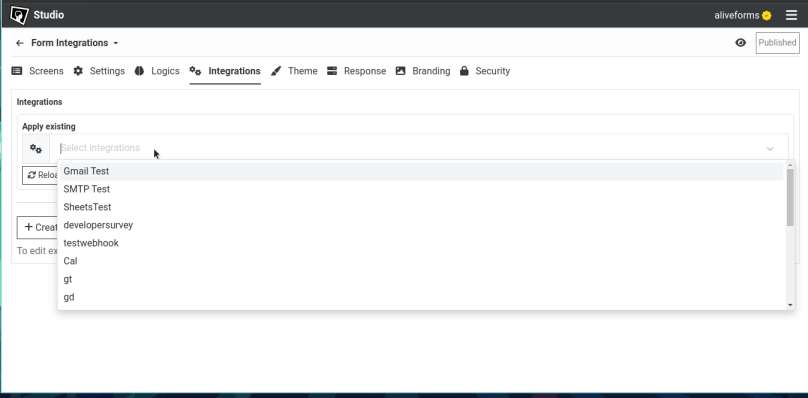
Connect form with Verify with Google Sign In
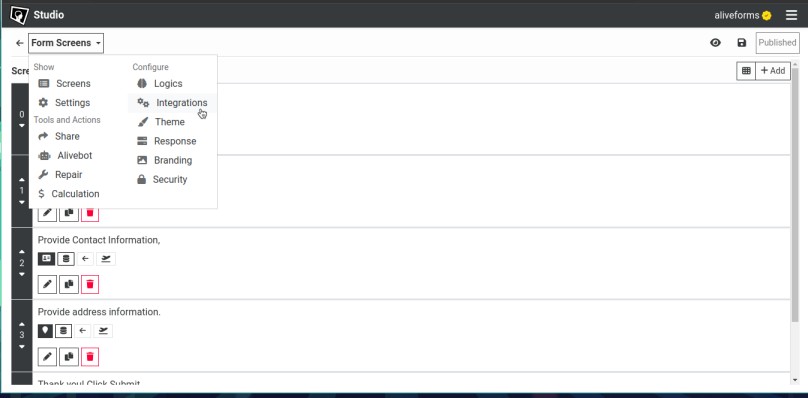
- Edit the form where you want to use Verify with Google Sign In.
- Open
Integrationssettings.
- Select your Verify with Google Sign In integration and click apply.